
Paint pouring has become a crazy trend recently, and I love it! Basically, you mix paint with a medium that makes it flow more smoothly, add in some oil to create resistance and interestingness, and then you have a blast pouring all of that onto you canvas, wood panel, or other base of choice. It’s extremely fun, the results are beautifully random, and the best thing is, you really can’t go wrong! it’s always amazing, and oh-so-satisfying!
I have tried numerous techniques and materials, watched way too many videos on YouTube, and taught a few classes, and now I’ve written this tutorial to help you achieve great results with the simplest, most accessible materials. I hope you enjoy it!

There are numerous techniques and ideas to try with paint pouring, but the best advice I can give you is not to worry! If you follow my instructions it won’t get too messy, and you’ll have some wonderful art in no time at all. It’s all about playing and experimenting! Alright, let’s start already!
Materials
5-6 acrylic paints. Choose your favorite colors, and do consider white and black, they always look good! You’ll be needing thin paints, that will flow nicely. I’ve used Craft Smart and Apple Barrel brands which are inexpensive, with great results.
A base to pour on. It could be canvas, wood, or anything else you choose.
Elmer’s Glue-All. I buy it by the gallon, you could use the smaller size to start with, but please note this is Glue All and not regular school glue!
Silicon Oil. I have read about people using silicon hair products, but haven’t tried them. I use the oil linked here, and it’s been working great.
An apron, or clothes you don’t mind ruining.
Freezer paper. I like using it to cover the inside of my box, and my workspace, because I can then peel the paint off and use it in my art as a lovely skin, but feel free to cover with anything you feel comfortable with.
A flat cardboard box. I get mind at Costco’s, because they have them lying around, you could use a shoe box, or even the box lid. You don’t need a deep box, just one as large as your canvas, to contain the paint drips.
Baby wipes.
Preparing your work surface
A lot of paint is going to be, well… poured! So we’re going to want to cover the workspace, as well as make some space to lay the drying art on. Place your cardboard box on the covered table, cover an area on which you will be drying your art, and cover the inside of your box. Place two paper cups, upside down, inside your covered box. You will be setting your canvas on these cups, so the paint can drip down into the box. That’s it! Your’re almost ready to start pouring! Note that I took the photo below *after* pouring, so there’s paint there. Your surface should still be nice and clean at this time.

Here we go!
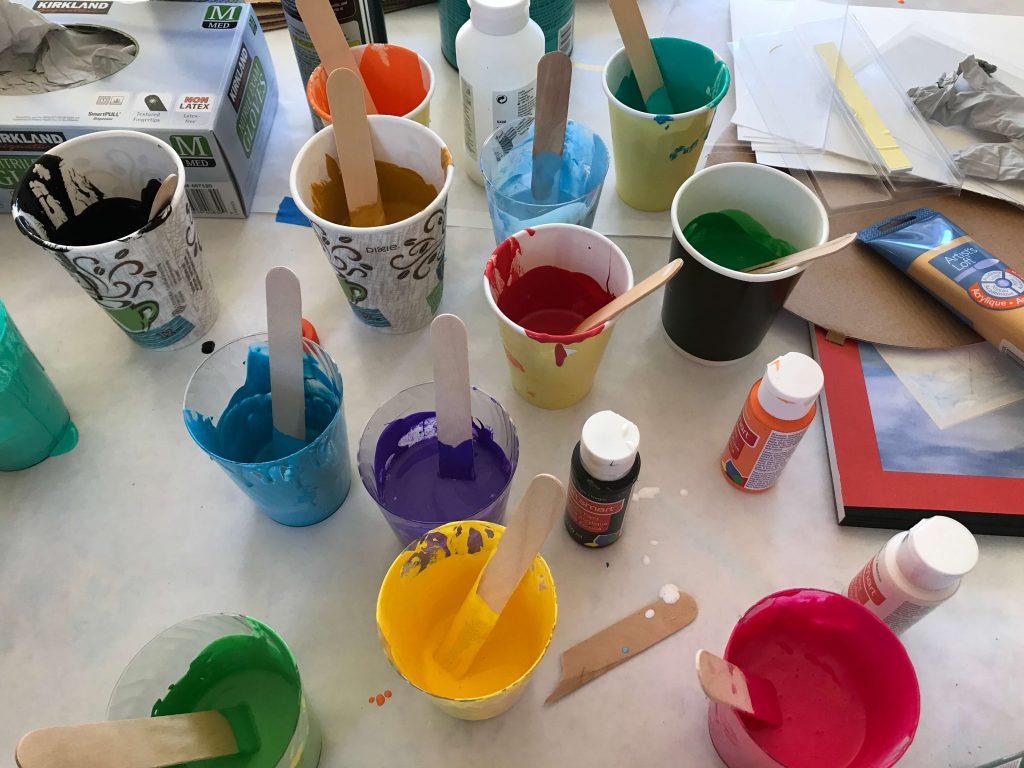
Choose 5-6 paint colors that you love, and pour into a paper cup. Fill about 1/3 cup with a single color. Remember this is fun play, not science. So approximately one third will be just fine! Next, you’ll be pouring the same amount of Elmer’s Glue-All into the cup, so eye-ball it, and go ahead. The paint to glue ratio should be 50-50. use your craft stick to stir the glue into the paint so they’re completely merged. You should get a nice and smooth paint, that will flow beautifully. Last, let’s squirt 2-3 spritzs of silicon oil into the mix. Give it a stir, but not too much this time, just a gentle stir. Do this for all of the colors you want to use, so that you have 5-6 cups ready with the mix.
We’re almost there!
Take a clean paper cup, and gently pour all your paints into it, one after the other. I like to pour the darkest color first, but really, there are no rules!
Now, flip!
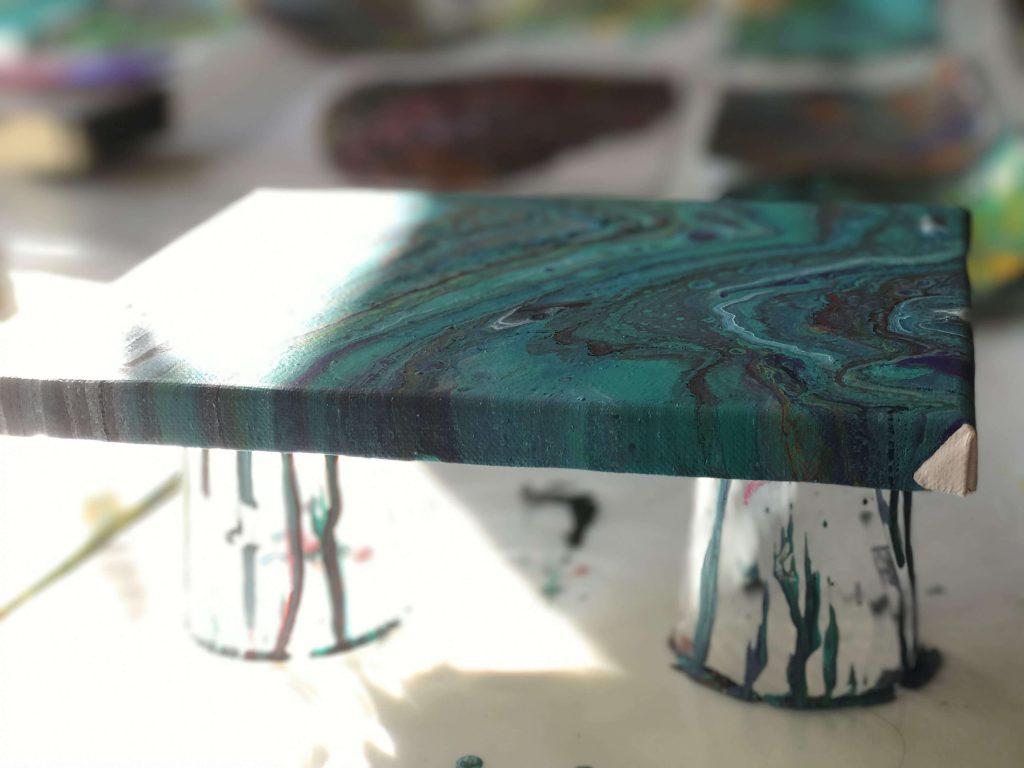
Put on your gloves, lay down your canvas on top of your paper cup filled with paints, and… flip! Don’t take away the cup just yet! Just flip it, and lay the canvas down on your two cups inside the box. Now you’re ready to quickly lift the cup, and watch how all the paint pours, mixes and drips. Isn’t it just beautiful? Let the paint flow, and start tilting the canvas carefully, helping the paint cover it completely, noting how the under paints are now coming forward. As you tilt, you do have some control over what happens, so note which way you want the paint to move, and which colors you want to dominate. You can add some paint to the sides of your canvas and fill in the gaps with your gloves, at this point they’ll be covered with paint. When you’re satisfied with your canvas, go ahead and lay it down to dry, and continue to experiment!


Watching all this paint flow is so much fun! Just look at all those colors and textures! The canvases will take about 24 hours to dry, and they’re so nice and smooth!
Some fun by-products of the pour
If you work on freezer paper, you can dip some paper, tags, or your art journal into the paint! Because it’s mixed with medium (Elmer’s glue-all in this case), the pulling of the paper from the paint after dipping it in will create beautiful feather-like designs on the paper.
Also, if you let the paint dry, you would be able to peel it off! It then becomes a skin you could use in your journal or artwork. Look at these lovely drips!


This is what it looks like peeled from the freezer paper:

Quick Summary
In different paper cups, mix your favorite paint colors with Elmer’s Glue-all, at a 50-50 ratio of glue to paint. Add 2-3 drips of silicon oil into each cup. Pour 5-6 colors into a new cup, one on top of the other, and then flip this cup on top of your canvas, and enjoy! That really is the most important part! Enjoy the process, experiment, repeat!
That’s it! I hope you give it a try, do let me know if you have questions, and I’d love to hear how it went! Enjoy! And if you have any questions about this tutorial or other mixed media techniques, please join my Facebook group, Art Journaling and Mixed Media!


