• heעברית
  • Home
  • About
  • Let’s Talk!
Search
רשתות חבריות אנגלית
  • Facebook
  • Pinterest
  • Instagram
The Art of Creativity
  • Art Journaling
  • Start Here
  • Inspiration
  • Tutorials
  • Creativity
  • Workshops
  • Art Journaling
  • Start Here
  • Inspiration
  • Creativity
  • Tutorials
  • Workshops
  • About Me
  • Contact
The Art of Creativity
  • Art Journaling
  • Start Here
  • Inspiration
  • Tutorials
  • Creativity
  • Workshops
  • Art Journaling
  • Start Here
  • Inspiration
  • Creativity
  • Tutorials
  • Workshops
  • About Me
  • Contact

How to make styrofoam prints

19 November 2019

Printing is a wonderful world of opportunity, full of ideas to explore! I love learning about new materials, and trying out new ideas. One of the most simple and accessible materials for me to print with are styrofoam plates. These can either be found in your local grocery store – you know, those plates that corn or meat come in?


Printing with styrofoam plates


You could either ask for a clean one to play around with, or wash a used one, but I have to admit that after trying both, I resorted to buying them online! I use them with my students, they’re not expensive,and they come nicely cut to rectangular shapes, which is worth the money for me. I buy them here.

These plates are made from polysterene, a soft material you can press your pattern into with a pen or pencil. I like to use the back of a paint brush, just because I always have those lying around! I’ll draw whatever it is I want to print, onto the plate, and then roll some acrylic paint on it with my brayer, and print it on to paper.

I’ve used these plates in my workshops, and city tours. These are pictures from a city tour I took my students to. We went for an art tour in San Francisco, and made art on the go!


Printing with styrofoam plates


Printing with styrofoam plates


Printing with styrofoam plates


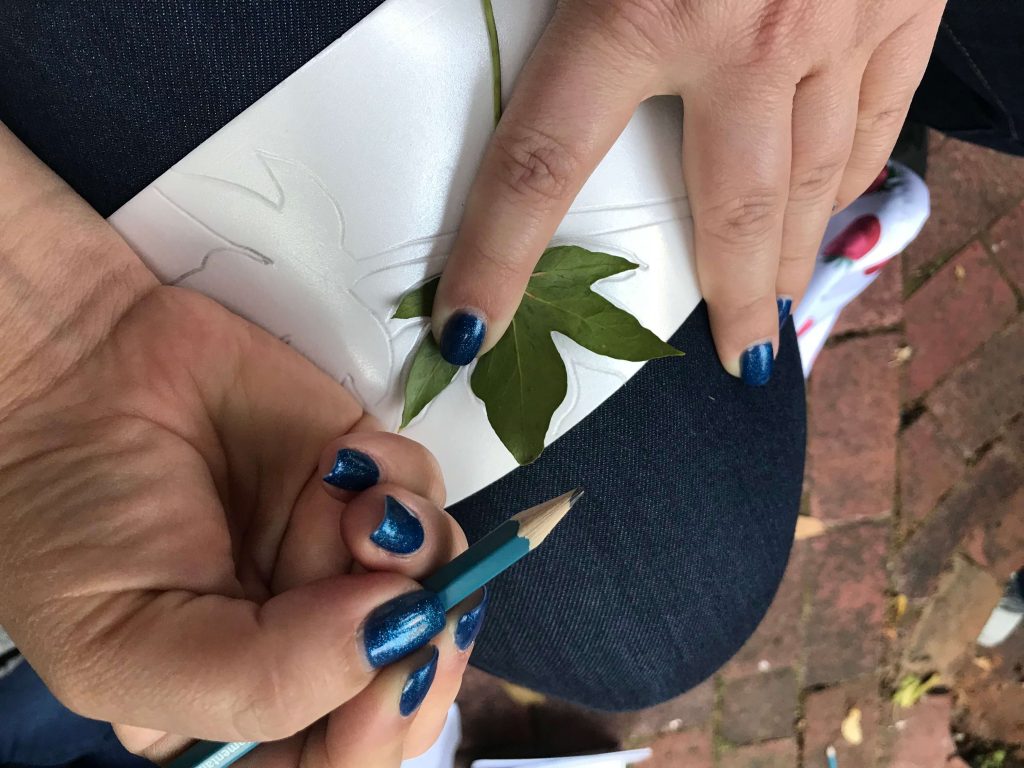
Both sides of the plate can be used for printing, which is kind of nice. I’ve used these plates with kids too, in ,my kids’ school, where I volunteer to teach art. These are some of the plates they made. In this picture, they have already drawn their pattern onto the plate, by pressing down with a pencil. Don’t press too hard, the material is soft, and you don’t want to break it!


Styrofoam printing


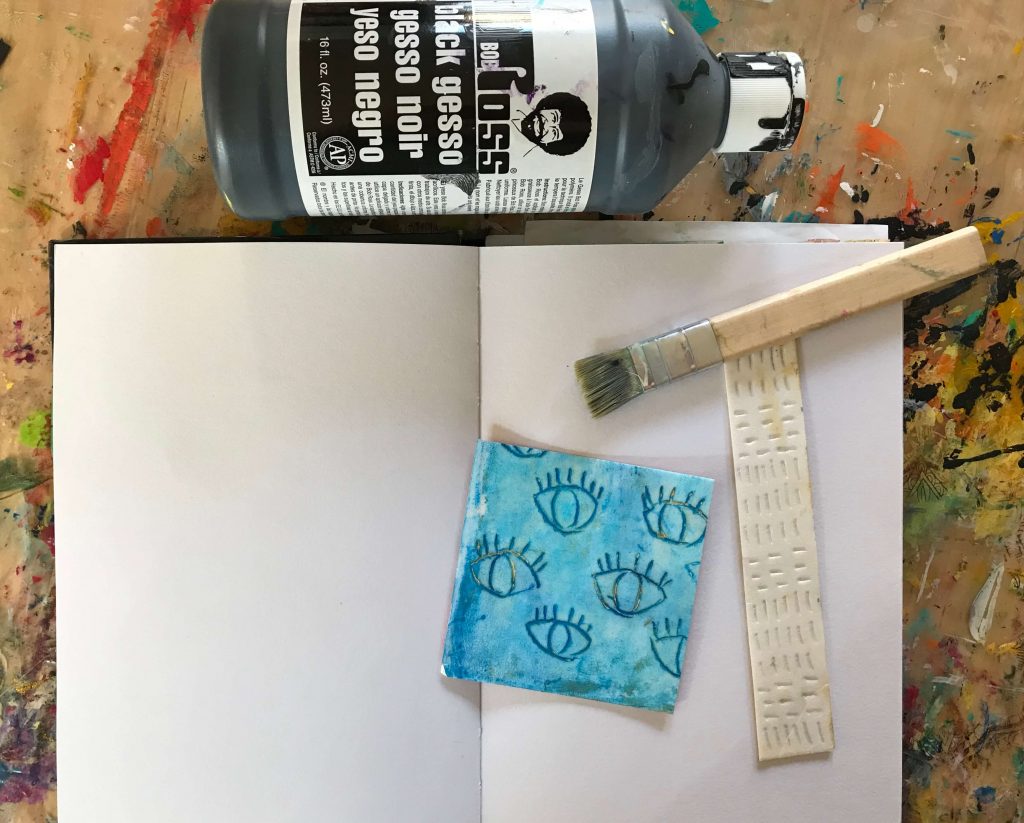
Once you have the pattern drawn out, you need some acrylic paint, and a brayer or paint brush to paint the plate.


Styrofoam printing


I roll the paint on the plate –


Styrofoam printing


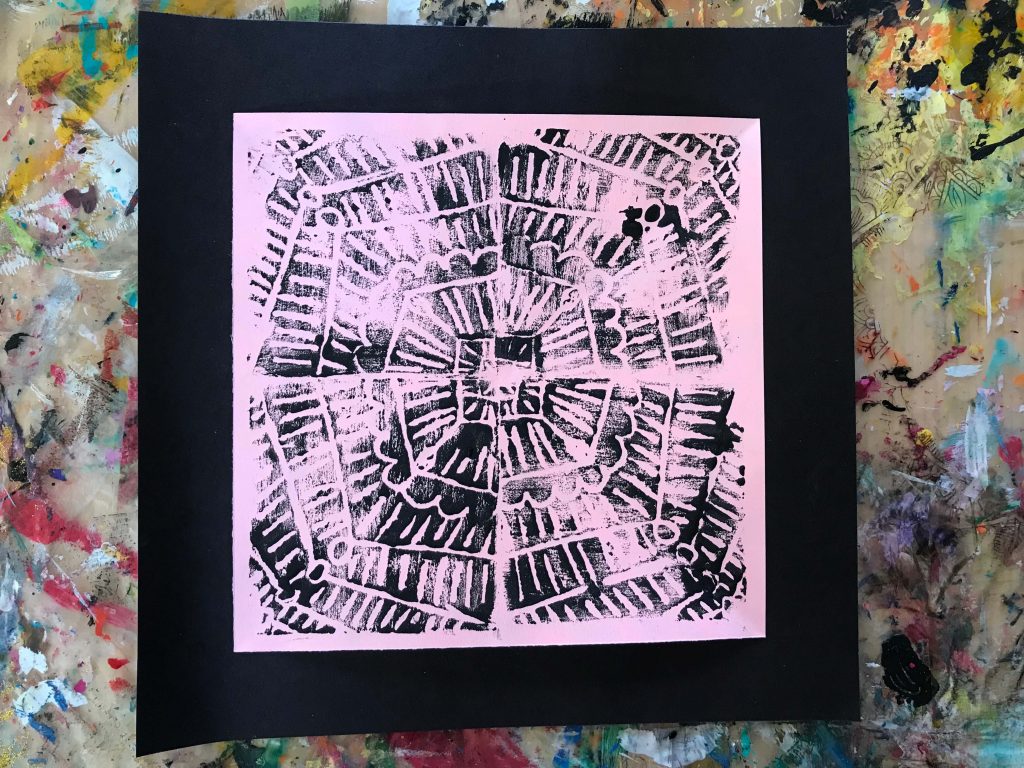
And then “stamp” the plate onto my paper. In the sample below, I wanted to make a border, so I cut my plate. You could cut it into any shape you wanted.


Styrofoam printing


Last year, my son was in third grade, and I taught his class about radial symmetry, using this fantastic class. We cut the plates into small squares, and stuck them on sticks, to have a nice handle.


Printing with styrofoam


The idea was to create a pattern by turning the printing plate 90 degrees each print. This is what the cool result looked like.


Styrofoam printing

Styrofoam printing


Printing with styrofoam


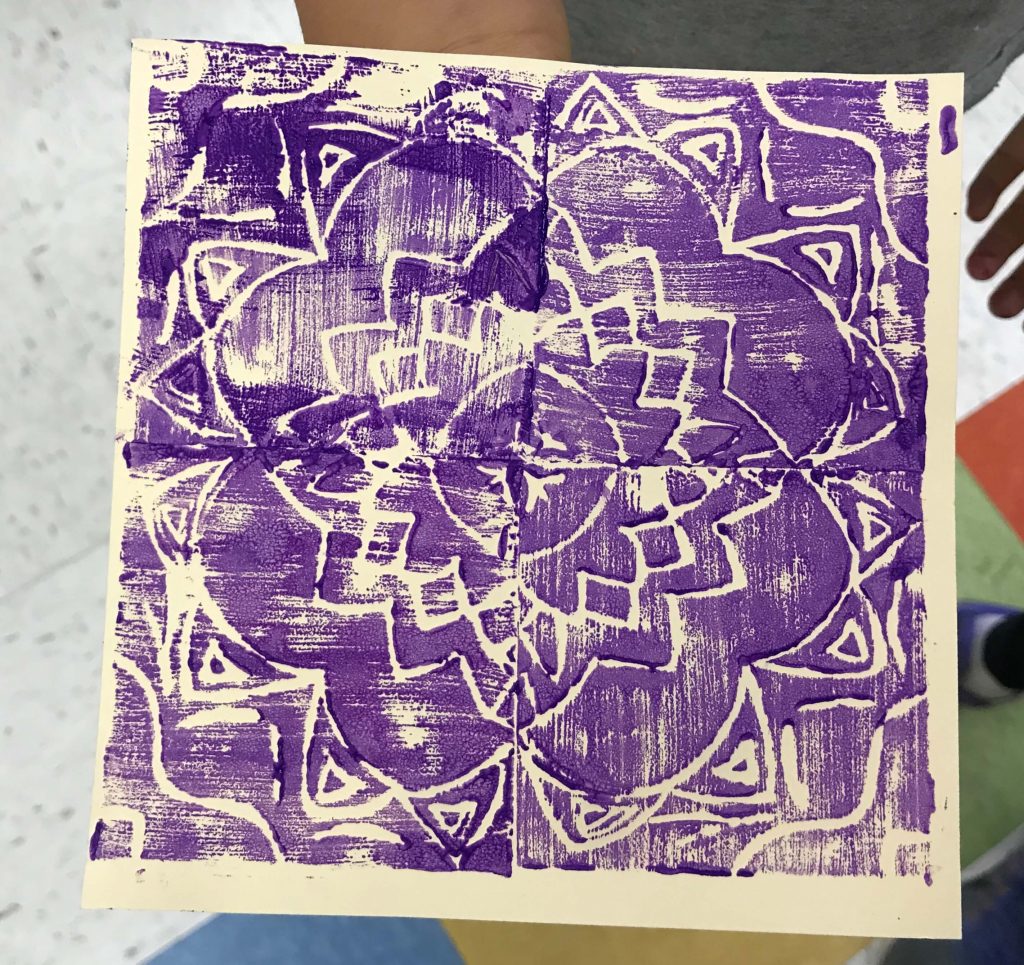
The kids loved it! They enjoyed the process, and made awesome prints! Have you ever tried this? I’d love to see what you made!


I hope you found this post interesting, and would be delighted if you shared it!
Enjoyed reading this post?

Subscribe to my newsletter and get more inspiration, how-tos and updates!

Your e-mail is safe with me, I will never share it with anyone else.

Leave a Reply

Click here to cancel reply.

Hagit's profile image

Hello, I'm Hagit
Welcome to my blog.

[ read more -> ]
Some more inspiration
  • Facebook
  • Pinterest
  • Instagram
Recent Posts
A year in the life

A year in the life

Fun Rorschach Painting DIY

Fun Rorschach Painting DIY

DIY Clutch from Painted Papers

DIY Clutch from Painted Papers

In my studio: permission to play

In my studio: permission to play

Home made washi tape tutorial

Home made washi tape tutorial

search the blog
I write about
art journals books image transfers in the studio my process paint pouring play printmaking tutorials video

Some links in this blog are affiliate links. If you purchase through them I may receive a tiny percentage of the purchase. All opinions and recommendations, however, are my own, and I would never recommend about something I haven’t tried or think is less than amazing.

A Picture Is Worth A Thousand Words
  • heעברית
©All rights reserved to Hagit Azoulay Rozanes. It is absolutely forbidden to make any commercial use of the site's content or parts of it without prior written consent.
Site designed and built by: Sharon Rotem
Subscribe to my newsletter

Enter your e-mail get my newsletter, delivered straight to your inbox every Friday. With creative prompts and inspiration, It’s sure to make your weekend more fun and artsy!

Your e-mail is safe with me, I will never share it with anyone else.

Scroll to top
Skip to content
Open toolbar

כלי נגישות

  • הגדל טקסט
  • הקטן טקסט
  • גווני אפור
  • ניגודיות גבוהה
  • ניגודיות הפוכה
  • רקע בהיר
  • הדגשת קישורים
  • פונט קריא
  • Reset