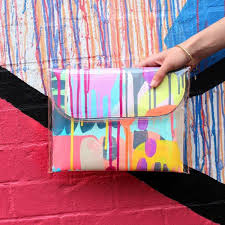
I’m so jealous of Tiff Manuell! She’s an Australian designer who makes beautiful painted artwork and turns her art into purses, clutches, dresses, scarves and more. I love her beautiful creations!
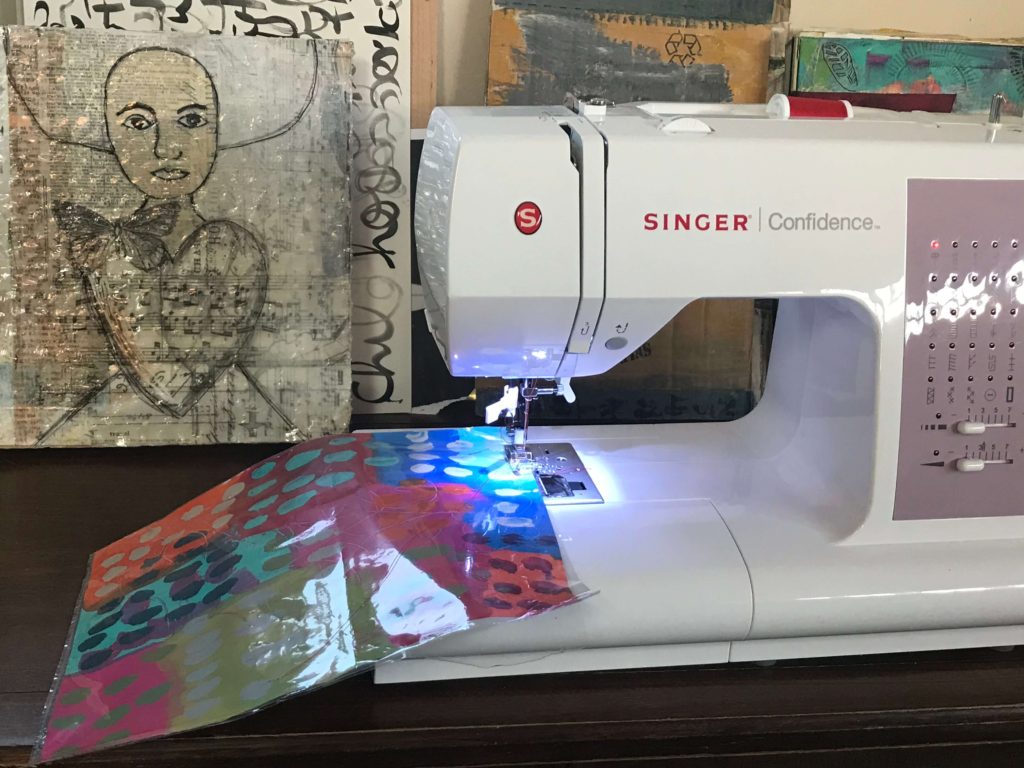
Not so long ago, my nine-year-old made this beautiful pencil case from a comics kit he was gifted, and the moment I saw it, I knew that was how I was going to make my faux Tiff Manuell clutches! 🙂 My son made his clutch by inserting his own comics into a plastic sleeve, folding and stapling the sides. Mine is just a little bit more complicated, because I added sewing, but either way, you could make it on your own or with your kids! It’s fun!

These are my colorful clutches, and I made a step-by-step tutorial to explain how I made them. Both are made with papers I painted, but you could make them with magazines, collage, book pages or scrapbooking pages, anything works!

Materials:
Interesting papers
Self-adhesive velcro
Scissors
Page protector/plastic sleeve
Sewing machine, String and needle, or stapler

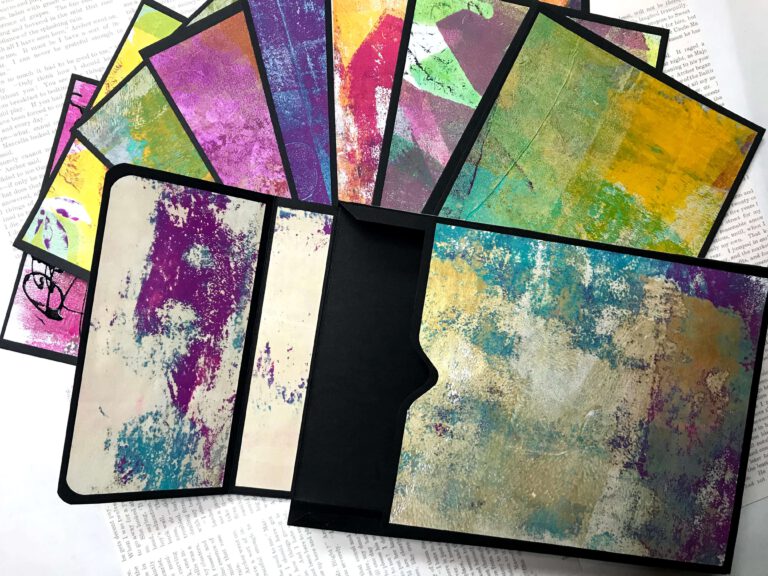
This is how I painted my papers for this project. Ever since the world has gone crazy, I’ve felt that all I need is color and peace of mind, so this is really just me painting freely, having fun, not thinking about anything. I used regular printer paper, but you could use bristol paper, or any other thicker paper, it would make a nice strong clutch.
Once you’ve gathered all the materials and are to start, cut off the side of the page protector:

Slip your painted paper in. In this first clutch I didn’t use any backing, just simple printer paper:

For my second clutch I was already more experienced, and glued back to back my painted paper and nice scrapbooking paper. That made for a sturdier clutch, and it’s also prettier because it’s double sided, so you don’t get to see a white paper staring at you when you open your clutch! This is what it looks like when it’s double sided.

Next step, cut the “left over” top of the page protector, so the paper and plastic are exactly the same size.

At this point I opened my sewing machine and stitched all four sides of the paper to the plastic sleeve. You could sew it by hand if you don’t have a machine, or use staples.
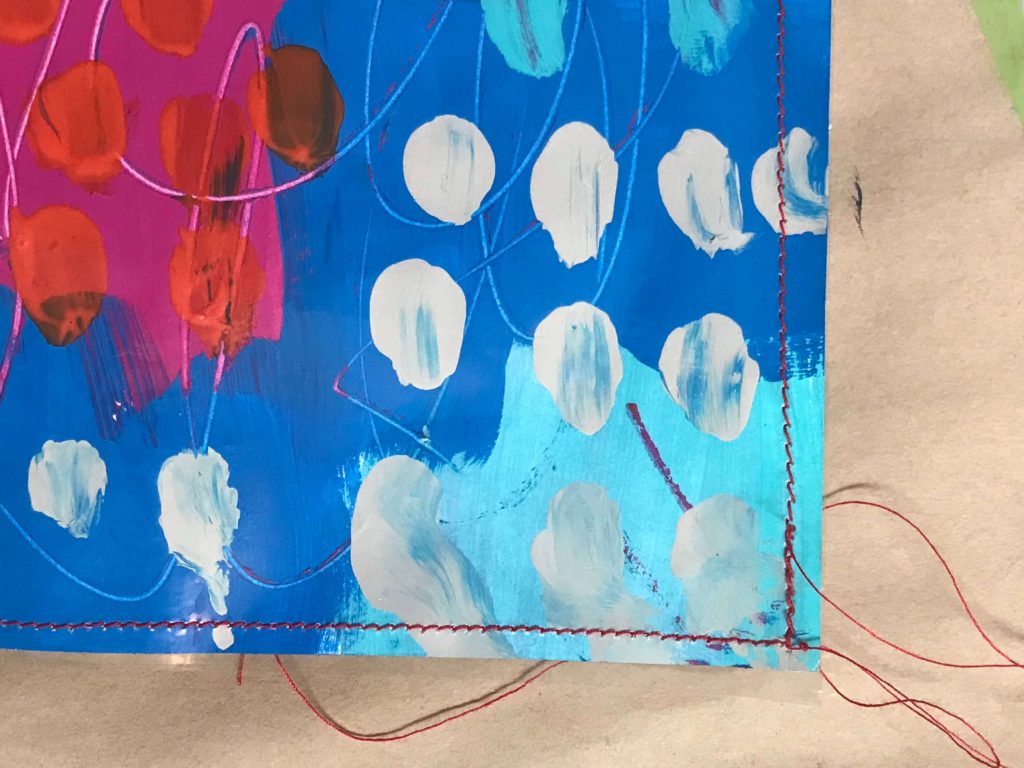
By now you should have your painted paper sewn all around into the plastic sleeve. Fold it to a clutch shape like so :

And go back to your sewing machine to sew up the sides, or staple them if you don’t have a sewing machine.

My clutch is almost done!

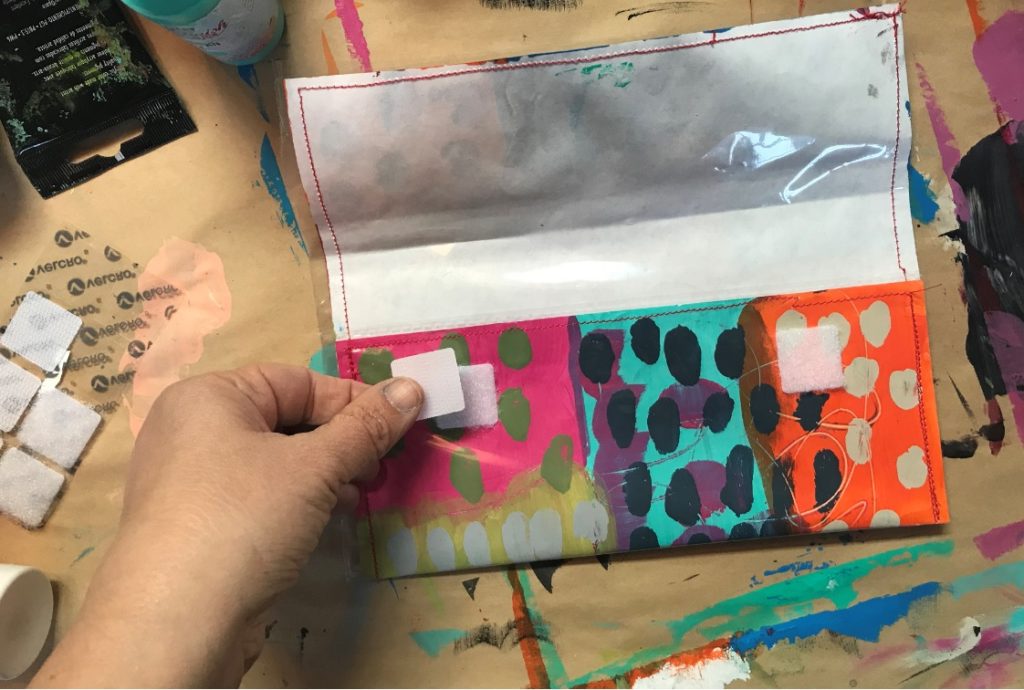
We just have to add the velcro. Stick two velcro dots or squares on the part shown in the picture below:

And then attach the opposite velcro parts on top of the velcro from the previous step. Note you are not using the sticky/adhesive back for this, rather velcro-ing the two parts together. The sticky part should be facing you, so that when we now close the top down, it will stick onto it, perfectly lined with the bottom velcro.
Fold your clutch, press around all sides and press down the velcro so that you know everything is in place, and…voila! You’re all done!


This is what it looks like with two papers, double-sided beauty, and the above is just one piece of printer paper.

My kids loved these so much they immediately grabbed them for themselves! They could work well as travel document holders, makeup clutches, or pencil cases.
I enjoyed making these so much, I hope you use this tutorial to make some of your own, and would be delighted if you shared them with me!